This site contains affiliate links. As an Amazon Associate, I earn a commission from qualifying purchases at no extra cost to you. Full Disclosure Here.
Sight Pictures can seem complicated. As more and more optics come into the market, it’s easy to get overloaded and confused.
But in reality, there really aren’t that many things to know, and you have help. In this guide, we’ll give you all the info you need to get up to speed in no time at all. There are lots of sights out there, but we’re going to break them down so that you can easily find what suits you best.
Today, you’re going to become an expert on sight pictures.
What is a sight picture?
The sight picture is a combination of your reticle and how it is held on the target. Now there are many different types of sights and even more ways to hold them, but any combination of the two makes up a sight picture.
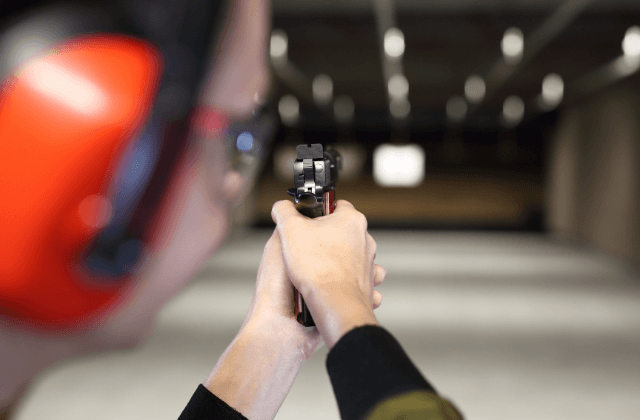
A good sight picture is key to all shooting, ranging from marksmanship tournaments to hunting to self-defense. Finding an optic that best matches your shooting style will result in a higher degree of accuracy and, more importantly, will make shooting more enjoyable.
Sight picture is situational. There is no correct or best option. How a sports shooter interacts with a pistol at close range is very different from how a hunter will hold their rifle on a deer at 200 yards.
So figure out which combinations will best suit your shooting interests, and practice them until they are second nature.
How does a sight picture work?
Sight pictures work by aligning your eye and the barrel of the gun in a way that is accurate, repeatable, and ergonomic. It helps in aiming a firearm so that your shots will feel predictable and helps you dial in your shots. This is absolutely essential for nailing the perfect shot every time.
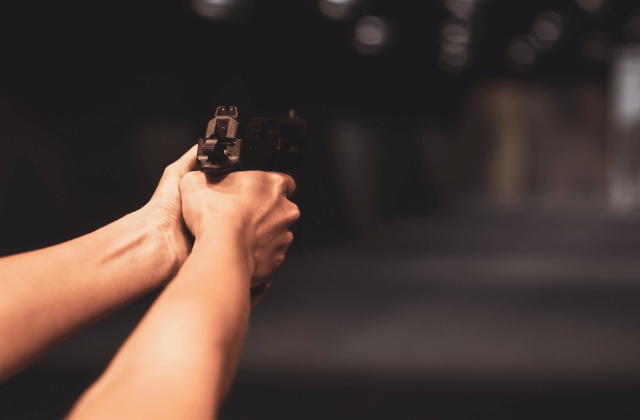
But how does the sight picture do that?
Well traditionally, there are two parts to a complete sight system.
First, there’s the front sight. Generally, the front sight is located on the top of the slide or barrel, towards the muzzle. The front sight is small, providing a visual representation of a single point.
Then there’s the rear sight, which is located on the slide or receiver, towards the back of the gun. The rear sight is larger than the front sight and creates a window.
To use the sights properly, you’ll align that small point from the front sight inside the window of the rear sight. That ensures that your eye, the length of the gun, and your target all make up one straight line, so your bullet hits the point that your sights are aiming at.
There is some variation in sight types and exactly how they work, but that’s more or less the same basic function of all of them, and for all of them, a clear sight picture is absolutely essential.
Types of sight pictures
There are three main families of sight pictures: Open Sights, Aperture Sights, and Telescopic sights. Let’s break them down to better understand them.
Open sights
Open sights, often referred to as iron sights, consist of a marker at the end of the barrel that you align with a notch at the rear of the gun. These are most commonly found on pistols or as backup sights on short-range rifles.
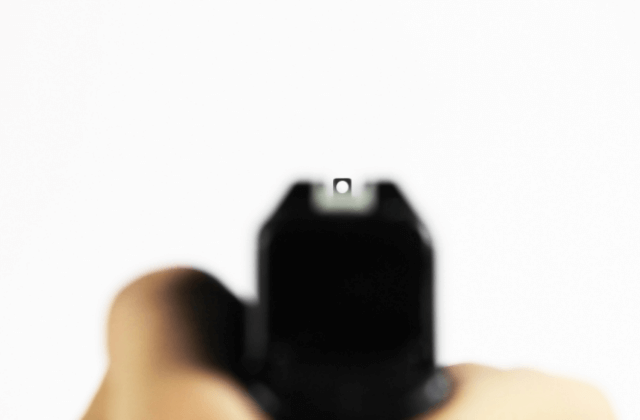
These are the most rudimentary type of sight possible, their sole purpose is to line up the gun nice and straight so that your shots will go down range.
Their major perk is that they are small and immune to failure, this is why they are often put on handguns where size and concealment are the primary concern.
A major drawback of this design is that it can be imprecise. Slight wavering horizontally and vertically is hard to notice, and when aligned they block out what you are aiming at.
This can be a major concern for some and lead to some of the techniques mentioned later in the article (namely the combat hold and 6 o’clock hold).
Check out our article on Best Red Dot Sights by Marine Approved.
Aperture sights
Aperture sights fix some of the accuracy and visibility problems of the Open sights while still being small and lightweight.
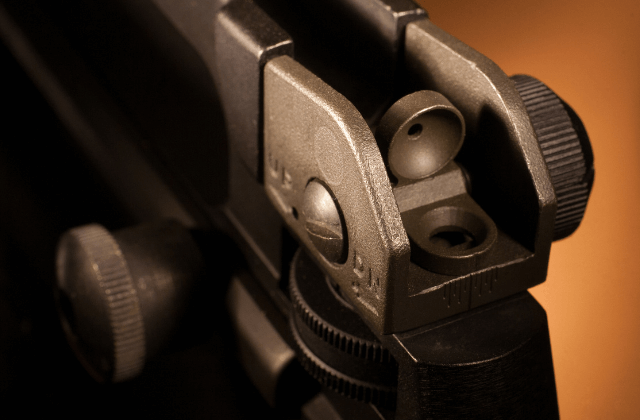
The aperture sight uses a front post consisting of a circle with a marker in the middle and a rear piece with a small hole, or aperture. By putting the circle of the front marker centered in the rear “aperture” sight you get a more aligned shot better suited for medium-range targets.
Their detractors tend to be that people find them finicky. They can also cause a bit of shot paralysis, as inexperienced shooters get hyper-focused on centering the reticle instead of lining up on the target.
Aperture sights gained popularity in the late 1800s, and are still found today as a backup on most AR-15 platform rifles.
Telescopic Sights
With technological improvements, telescopic sights came to dominate the shooting world. Telescopic sights use longer, larger frames to create a sight picture that is perfect every time. No lining up, no correcting front and rear, just look-aim-shoot.
Telescopic sights are the largest family of optics, ranging from the micro-reflex sights found on Gucci Glocks to the 12-24X rifle scopes used for 1000-yard shooting.
The standout members of this family are the Reflex sight, Holographic Sight, and the ACOG sight.
Sight pictures for different types of shooters
Let’s break down how we, the human, interact with our sights of choice. Depending on what type of shooting you are doing you may have a different interaction with your sight, let’s figure out which is right for you.
Standard Shooter
Standard shooting will sound a lot like advice from your grandpa, line up the optic with your dominant eye, close your non-dominant eye, squeeze the trigger gently, and bullseye! This is a technique borrowed from European archery and serves the average shooter well, as it has for hundreds of years.
The main advantage of this system is simplicity. Relying on your dominant eye will provide you with an accurate and repeatable shooting experience that should put shots on target.
Combat Shooter
Combat shooting flies in contrast to standard shooting. When using this technique the shooter keeps both eyes open, letting the dominant eye line up with the sight while the non-dominant eye is used to observe the peripherals for movement.
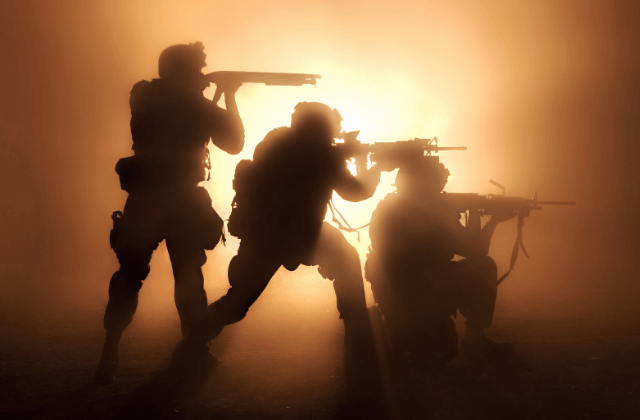
This technique makes sense when you know there are other people around you that you need to be wary of. While shooting with both eyes open may sound like an alien experience, it can become comfortable with a little practice.
Visit Corporal Wabo’s article on the Best Night Sights for Glock Owners.
Hunter
Hunters take the best of both worlds. Using both eyes the hunter acquires their prey and makes an approximate distance-to-target measurement. They then use their dominant eye to look through the scope and correct for that distance with the markers on their reticle.
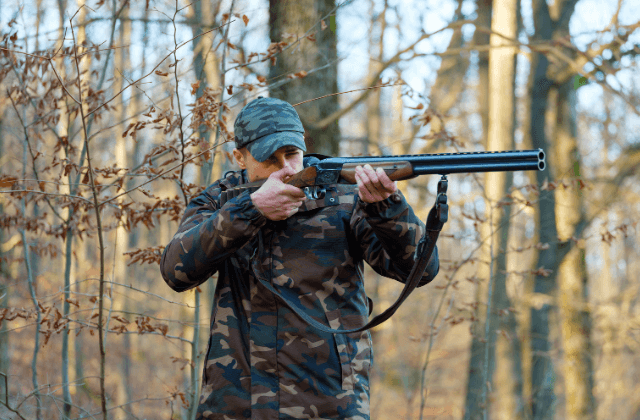
Hunting involves far more watching than it does shooting, so this mixed style best suits someone who is spending their weekends in the damp woods dreaming about warm venison.
Marksman
Marksmanship shooting takes standard shooting and dials it to 11. Shooters often block out their non-dominant eye so that it cannot interfere with their primary eye. This can take the form of a plastic card protruding off the scope to even more extreme options like specialty glasses that have blacked-out lenses over the other eye.
Many marksmanship rifles have custom molded grips and cheek rests to guarantee that the shooter is locked into the same spot for every shot. This provides repeatability that leads to increased accuracy.
This type of shooting is only suited to dedicated marksman sessions, as they are wildly impractical for field use and can look plain goofy on a casual range day with friends and family.
Sight holds
Let’s talk about the main holds for an open sight picture, and why you may choose one over the other.

Combat hold
The tried and true classic, Line up your front and rear sights and hold them blocking out your point of aim. If your front sight has a dot or better yet some sort of luminous element it should be held exactly where you want to aim. Most pistols come out of the box set up for this type of hold, as it is incredibly intuitive.
Center hold
For a center hold you still want all of your posts in a row, but this time you want to put the top of your front sight in the middle of what you’re aiming at. This makes visualizing and tracking your target a bit easier, but you will have to practice like this to build up muscle memory, especially if you have been using the combat hold for a while.
6 o’clock hold
The six o’clock hold takes the center hold and builds on it, this time holding the sight below your target, so that it completely rests above your post. This gives you an unobstructed view of your target and is better for taking in lots of information while aiming down sights. This technique used to be taught to law enforcement and military personnel, but is falling out of favor over the combat hold as more pistols come set up for it.
Conclusion
And that’s a wrap on sight pictures!
By now, you should understand what a sight picture is and how to apply it for accurate shooting. You know that mixing your reticle, your sighting, and your hold lead to a good sight picture and improved marksmanship. You should also know the different types of sights and how to use them for your own shooting needs.
Note, however, that this guide isn’t going to cover every single type of sight and style of shooting with sights. The world of firearms is massive and there are sure to be some exceptions out there, so don’t be shocked if you ever come across something that we didn’t include here.
But you can rest assured that we covered all of the most common types of sights and styles of using sights, providing you with the information that you need most.
Now be sure to check out our optics and sights reviews so you can find the perfect sights to make use of your brand-new knowledge!

