This site contains affiliate links. As an Amazon Associate, I earn a commission from qualifying purchases at no extra cost to you. Full Disclosure Here.
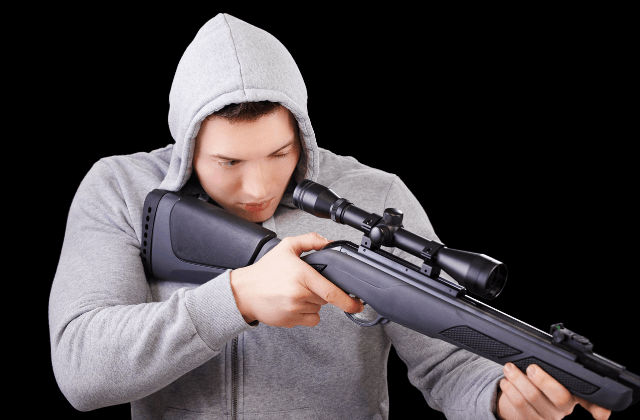
Shooting accurately is not just about having the right rifle or ammunition but also about properly zeroing your scope. A properly zeroed scope ensures that the point of aim is the same as the point of impact at a specific distance, allowing the shooter to hit their target precisely.
Zeroing a scope can seem daunting, especially for beginners, but it’s an essential skill that every shooter should master.
In this blog post, we will cover everything you need to know about zeroing a scope, including the step-by-step process, the importance of choosing the right distance, and the role of the elevation and windage turrets in zeroing. We will also discuss the importance of fine-tuning your zero and regularly rechecking and adjusting it to maintain accuracy.
Whether you’re a seasoned marksman or a beginner learning the ropes, this guide will provide you with the knowledge and skills you need to properly zero your scope and improve your shooting accuracy.
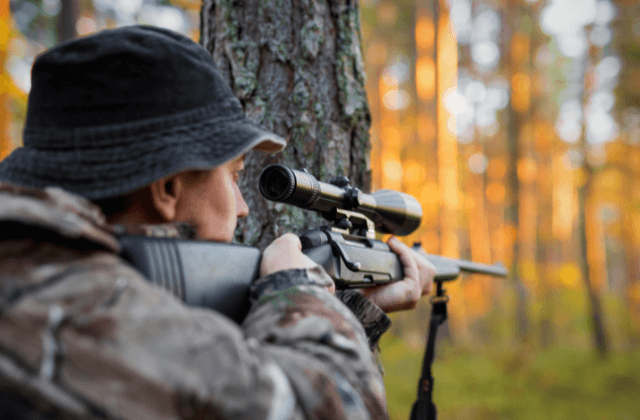
How to Zero a Scope
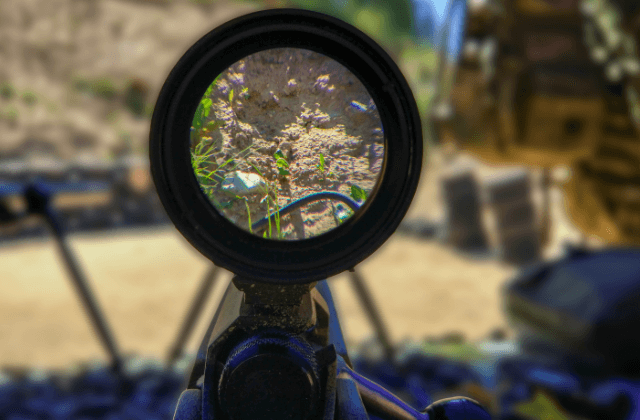
Zeroing a scope means aligning the crosshairs of the scope with the point of impact of the bullet on the target. In short, it’s done by taking a shot, noting where the bullet hits relative to where you aimed, and making adjustments accordingly, then repeating the process until the point of aim and point of impact are the same.
Here’s a quick guide to zeroing a scope:
- Set up your target at a known distance, usually 100 yards.
- Install the scope on the rifle and ensure it’s secure and properly mounted.
- Set the scope’s magnification to the highest setting.
- Take a shot at the center of the target and note where the bullet hit.
- Without moving the rifle, adjust the scope’s windage and elevation knobs to move the crosshairs to the point of impact on the target.
- Take another shot at the center of the target to confirm the adjustment.
- Repeat steps 4-6 as necessary until the crosshairs align with the point of impact.
Once the scope is zeroed, it should be accurate at the chosen distance, but you may need to re-zero it if you change the distance or ammunition you’re using.
How to Zero a Riflescope: Detailed Explanation
Zeroing a riflescope can be a bit of a process, but it’s essential for ensuring that your shots are accurate and consistent. Here’s a detailed explanation of how to zero a riflescope:
- Set up your target
First, you’ll need to set up a target. Select a target with a clear and easily visible aiming point, such as a bullseye, and place it at a known distance. Most people zero their scopes at 100 yards, but you can choose a different distance if you prefer.

Make sure that the target is big enough to see clearly through the scope, and that that the target is secured to a stable backing that can catch your bullets safely.
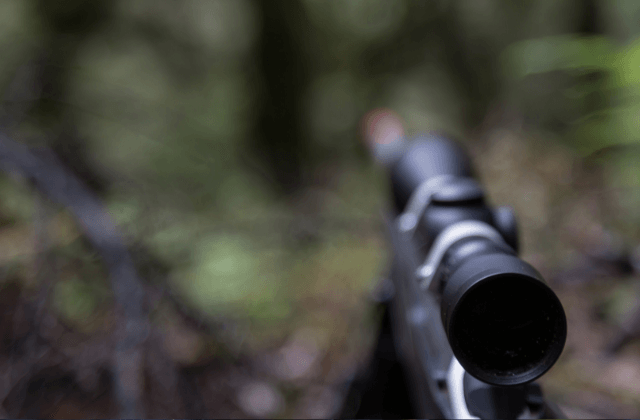
- Mount the riflescope
Next, you’ll need to install the riflescope on your rifle. Follow the manufacturer’s instructions carefully to make sure that the scope is installed correctly and securely. It’s important to make sure that the scope is level and aligned properly with the barrel of the rifle.
- Bore sight the scope
This step is optional, but can help reduce the time and ammunition required to zero the scope. Bore sighting is a process that helps align the riflescope’s crosshairs with the bore of the rifle. A bore sight is a device that you can attach to the rifle’s barrel to help with this process.
With the bore sight in place, look through the scope and adjust the crosshairs until they are aligned with the bore sight. The bore sight should come with instructions from the manufacturer to help you with this process.
- Set the magnification
Adjust the magnification of the scope to the highest power setting. This will make it easier to see the details of the target and make more precise adjustments.
- Prepare your shooting position
Set up a stable shooting position, such as a bench or prone position, with a sandbag or other support for your rifle. A stable shooting position is essential for accurate shots and consistent results.
- Take a shot
Aim at the center of the target and fire a shot. Make sure you take a steady, deliberate shot and eliminate as much human error as possible. Make sure to use the same ammunition you intend to use when shooting longer distances.
Once the shot has been fired, take note of where the bullet hits on the target, as this will serve as a reference point for future adjustments.
- Determine your corrections
Once you have taken your first shot, you need to determine the necessary corrections to zero your scope.
To do this, measure the distance between the center of the bullseye and where the bullet hit the target. This measurement will tell you the amount of adjustment needed in both windage and elevation.
- Make initial adjustments
Without moving the rifle, adjust the windage and elevation knobs to move the crosshairs towards the point of impact. The direction you need to adjust will depend on where your bullet hit the target.
For example, if the bullet hit to the left of the bullseye, you will need to adjust the windage knob to move the crosshairs to the right. If the bullet hit above the bullseye, you will need to adjust the elevation knob to move the crosshairs down.
Make sure to make small adjustments (1/4 or 1/2 MOA) and make note of the number of clicks for future reference.
- Take another shot
Take a second shot at the bullseye, aiming for the same spot as before. Ideally, the bullet should hit closer to the center of the target. Again, take note of where the bullet hit.
- Fine-tune the adjustments
Based on where the bullet hit on the second shot, make additional adjustments to the scope as needed.
For example, if the bullet hit to the right of the bullseye, make further adjustments to the windage knob to move the crosshairs to the left. Similarly, adjust the elevation knob if the bullet hit below the bullseye.
- Repeat the process
Take additional shots and make adjustments until the crosshairs are aligned with the center of the bullseye. Remember to make small adjustments and keep track of the number of clicks you make.
- Confirm zero
Once you’re satisfied that the scope is zeroed, take a final shot at the center of the target to confirm that the crosshairs are aligned correctly. If the shot hits the center of the target, the scope is zeroed and you’re ready to go.
- Record your settings
It’s important to record your final windage and elevation settings for future reference. This will help you quickly zero your scope the next time you use it, or if you need to adjust for different ammunition or shooting conditions.
- Revisit your settings every now and then
It’s also important to note that zeroing a riflescope is not a one-time process. Over time, the scope may drift out of alignment due to a variety of factors, such as changes in temperature or humidity.
It’s a good idea to check your scope’s zero periodically, especially if you notice that your shots are no longer hitting where you expect them to.
What Distance Should You Zero?
The distance at which you should zero a scope will depend on several factors, including the type of firearm, the ammunition used, and the intended use of the firearm. However, the most common distance for zeroing a scope is 100 yards for most hunting rifles and 50 yards for some rimfire rifles.
For hunting rifles, a 100-yard zero is a good starting point, as it provides a good balance between flat trajectory and energy at longer distances. This zero will allow hunters to aim at the center of a target up to a certain distance, depending on the caliber and bullet used.
For rimfire rifles, a 50-yard zero is often used, as these rifles are generally not used for long-range shooting. A 50-yard zero will also allow shooters to use their rifles at shorter ranges while keeping the bullet trajectory relatively flat.
However, it’s important to note that zeroing a scope is a personal preference, and some shooters may choose to zero their scopes at different distances depending on their specific needs and shooting style. Ultimately, the best distance to zero a scope is one that works for you and your intended use of the firearm.
Basic Terms To Keep Note Of
Elevation Turret
An elevation turret is a mechanism located on the top of a riflescope that allows a shooter to adjust the angle of the scope’s reticle up or down in relation to the barrel of the rifle.
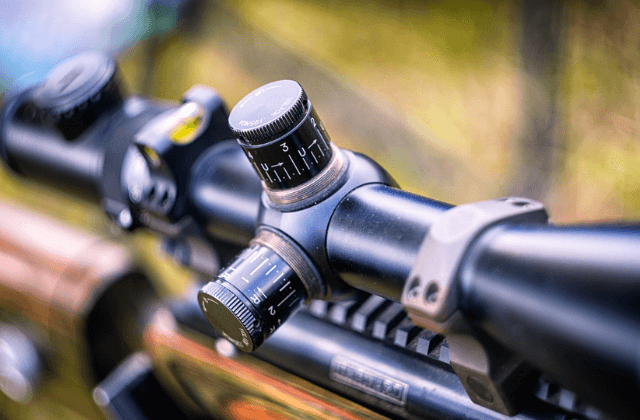
The elevation turret is one of two turrets typically found on a riflescope, with the other being the windage turret.
It is usually marked with numbers that correspond to the distance a bullet will travel in inches at a specific range, commonly measured in yards. For example, if a shooter wants to hit a target at 200 yards and the rifle is zeroed at 100 yards, the shooter can use the elevation turret to adjust the angle of the scope’s reticle upwards to compensate for the bullet’s drop at the longer distance.
The elevation turret can be adjusted by rotating it in either direction. Each click of the turret usually represents a small change in elevation, typically measured in minutes of angle (MOA) or milliradians (MILs). The amount of adjustment per click will vary depending on the specific scope, with some scopes offering finer adjustments than others.
Windage Turret
The other turret is the windage turret, which allows a shooter to compensate for the horizontal deviation of a bullet caused by wind or other external factors.
Like the elevation turret, the windage turret is typically located on the side of the scope and can be adjusted by rotating it in either direction.
It’s important to note that the adjustments made with the windage turret are independent of those made with the elevation turret. By using both turrets together, shooters can fine-tune their point of aim to account for a range of factors such as wind, bullet drop, and other environmental conditions.
Point of Aim
Point of aim refers to the precise location on a target at which a shooter aims their firearm’s sights or optics. The shooter’s point of aim represents the intended location of the bullet’s impact on the target.
For example, if a shooter is aiming at a bullseye on a target, their point of aim will be the center of the bullseye. However, if the shooter is compensating for factors such as wind, bullet drop, or other environmental conditions, their point of aim may shift slightly to account for these factors.
Point of Impact
Point of impact refers to the actual location on a target where a bullet strikes after it is fired from a firearm. This is the physical result of the bullet’s trajectory and is determined by a variety of factors such as the shooter’s aim, the firearm’s sights or optics, the ammunition used, and environmental factors such as wind and gravity.
The point of impact can be measured and analyzed to provide feedback to the shooter about the accuracy and consistency of their shooting. By looking at the location of the bullet holes on a target, the shooter can determine if they need to adjust their aim, sights, or optics to improve their accuracy.
For example, if the point of impact consistently falls to the right of the shooter’s point of aim, they may need to adjustments to compensate.
Ballistic Arc
Ballistic arc refers to the curved trajectory that a projectile follows after it is fired from a firearm. This trajectory is caused by a combination of factors such as gravity, air resistance, and the velocity and angle at which the projectile is fired.
As a bullet travels through the air, it is subjected to the forces of gravity and air resistance. These forces cause the bullet to slow down and gradually drop towards the ground. The amount of drop and the shape of the ballistic arc depend on the bullet’s velocity, weight, shape, and the angle at which it is fired.
Minutes of Angle
Minutes of angle (MOA) is a unit of measurement used in shooting sports to describe the angular measurement of a target or the adjustments made to a riflescope. It is a unit of angular measurement that is often used to describe the accuracy of a rifle or the size of a target.
In shooting, one minute of angle is equal to 1/60th of a degree or 1.047 inches at 100 yards (but most people simplify it to 1 inch at 100 yards for convenience). At other distances, one MOA will represent a proportionally larger or smaller distance on the target.
Milliradian
Milliradians (MILs) are a unit of angular measurement commonly used in shooting sports and military applications. A milliradian is equal to 1/1000th of a radian, or approximately 0.057 degrees.
In practical terms, one milliradian at 100 yards equals 3.6 inches. This makes MILs a useful unit of measurement for making precise adjustments to the point of aim on a rifle scope or for estimating distances to a target based on its size or the angle from the shooter.
For a more in depth comparison of minutes of angle in millradians, check out our comprehensive guide.
FAQs
There are a number of reasons a scope won’t zero in, including mounting issues, parallax errors, incorrect scope adjustment, ammunition or gun issues, and environmental factors. If you are having trouble zeroing your scope, it’s best to seek the advice of an experienced shooter or gunsmith who can help diagnose the problem and make the necessary adjustments.
Yes, scopes should be as close to perfectly level as possible for optimal accuracy. When a scope is not level, it can cause the reticle to appear tilted, which can affect the shooter’s ability to aim accurately. Even a small amount of tilt can cause the point of impact to shift left or right, making it difficult to zero the scope.
Conclusion
Zeroing a scope is a crucial step in shooting accurately and hitting your target with precision. By taking the time to properly zero your scope, you can improve your accuracy, increase your confidence, and ultimately enjoy a more successful and satisfying shooting experience.
Remember to choose the right distance, adjust the elevation and windage turrets, and fine-tune the zero to achieve the best possible accuracy.
It’s also important to remember that your zero can be affected by a variety of factors, such as changes in temperature, humidity, and altitude. It’s a good idea to recheck and adjust your zero periodically, especially if you plan on using your rifle in different environments or for different types of shooting.
Overall, zeroing a scope is a skill that every shooter should master. With practice and patience, you can become a skilled shooter and hit your target every time.