This site contains affiliate links. As an Amazon Associate, I earn a commission from qualifying purchases at no extra cost to you. Full Disclosure Here.
Gun bluing is an old-school surface finish method that is still incredibly effective (and popular) even today. We’re going to take a deep dive into how this type of finish is applied, including everything you need to know about applying it yourself at home.
We’ll cover the basic chemistry of bluing, the types of products you’ll need and where to buy them, and the safety concerns you’ll need to follow throughout this process to avoid injury. We’ll also go over all the different methods that are out there, so you have plenty of options when it comes time to finish or refinish your gun.
What is Gun Bluing?
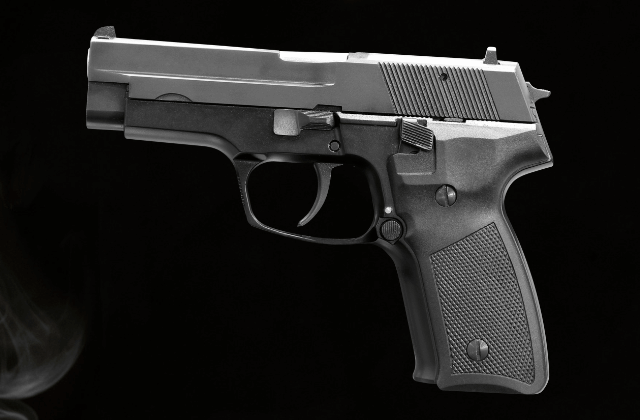
Gun bluing is the process of selectively oxidizing the outer surface of a piece of steel in a certain way to create a protective coating. This is done to inhibit the formation of damaging iron oxide (rust) and to give the firearm a classic look that some folks really enjoy.
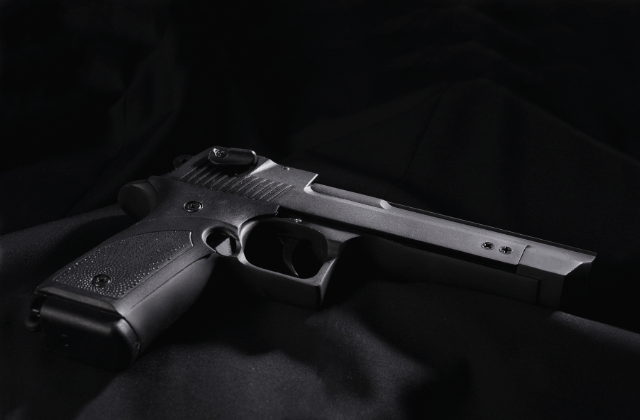
The name comes from the deep blue-black coating of iron oxide
This is a very traditional finishing option for firearms and one that goes back hundreds of years in one form or another. It’s also very economical, which is why it is so popular with both major manufacturers and hobby gunsmiths alike.
The basic process involves using a chemical bath to carefully build up layers of oxidation that then protect the steel underneath, and prevent problematic rust from forming. Yes, rust is iron oxide, the same as bluing, but the manner in which the oxidization occurs, and the chemicals involved actually make it beneficial for the gun’s finish.
When we blue a firearm we’re actually creating “black rust” or iron trioxide, instead of the typical red rust that forms whenever iron oxidizes. Red rust is technically iron dioxide and has a very loose molecular structure, which means not only does it “spread”, but it also flakes off and isn’t very strong.
In short, red rust = bad iron oxide (Fe2O4), while bluing = good iron oxide/ magnetite (Fe3O4).
Once the bluing is applied, it can be used in conjunction with water-displacing protective gun oil to effectively prevent the harmful iron oxide from forming.
How Do I Blue My Gun?
There are a number of ways to blue a gun, and which one you use will depend on your situation and what you’re trying to accomplish. The two most viable options for a home gunsmith or anyone without an industrial facility/machine shop are cold-bluing and hot-bluing.
Both of these options are fairly straightforward and we recommend you start with one of these methods before moving on to something more advanced. We will touch on these more advanced methods in the next section after we discuss hot and cold bluing.
Preparing the Surface for Bluing
Before you blue your gun, you need to clean, degrease, and polish the surface, and remove the previous coating if there is one. You need a bare metal finish, and any oil or dirt will inhibit the chemical reaction that blues the surface.
Even skin oils and fingerprints can interfere with the coating so we recommend wearing rubber gloves during cleaning. And use good-quality gun cleaning solvents for better results. Steel wool can scrub off the previous bluing without digging into the underlying metal too much. Avoid using a Dremel or other power tools here.

You can also use a chemical etchant/rust remover like Naval Jelly to strip the finish completely. Just make sure you read the instructions carefully and wear proper protection. This stuff is acidic and you definitely don’t want it on your skin or in your eyes.
Speaking of, you’ll need that eye and skin protection for the next section, too, so here’s a good face mask too. Using this will keep you from looking like the Joker if something splashes on you.
Just kidding, the acid isn’t THAT strong, but you definitely don’t want it in your eyes.
As with all surface finishes, prepping your material is key, so make sure that you’re carefully removing everything on the surface down to the bare metal and not reintroducing oils, lint, or what have you after you have done so.
Personally, for cold bluing, I go for a CLP bath and deep scrub with wet sandpaper on a piece of old tile (or other hard, square surface), and then carefully wash and dry it with degreasing soap (Dawn dish soap).
I do this last process multiple times while wearing gloves and then carefully and thoroughly dry the barrel with a microfiber cloth. Finally, I blow dry it with a heat gun to remove any and all moisture.
You can check out this article on How to Remove rust by Marine Approved.
Cold-Bluing Process
Cold-bluing gets its name from the fact that you don’t have to heat the bluing solution in order to have the chemical reaction that creates the blued coating. This is a great option for touching up wear spots, such as the bolt handle of a rifle or parts of a pistol barrel or slide that have worn from holstering and unholstering over the years.
Why doesn’t everyone just use cold-bluing, then?
Sadly, it’s not as wear-resistant as a hot-blued coating, so it rubs off more easily and may need to be reapplied. Overall this makes it a great option for a scratch on a receiver or other area that needs a light touch-up but is generally unsuitable for coating an entire gun, or as a base finish to newly-machined metal.
It also does not provide as much corrosion resistance as hot bluing.
Cold-bluing is also a lot harder to apply evenly, which has given it something of a bad reputation, but if you’re careful about it and use it more for touch-ups than coating an entire part, you’ll be in good shape.
To actually blue your parts, Birchwood Casey Super Blue is a good place to start, and they have a helpful video you can watch here to get an idea of how to use it properly.
Hot-Bluing Process
Hot-bluing involves some more dangerous chemicals, namely potassium nitrate (saltpeter) and sodium hydroxide (lye) plus boiling water. These caustic salts are heated to very high temperatures, so there’s both a physical and chemical burn risk.
This process needs to be done with proper ventilation, and with a properly-rated respirator, face protection, gloves, rubber boots, and a water-proof apron preferably made of a natural and heat-resistant material like leather or rubber.
In the event that you do come into contact with these salts, the acid reaction can be neutralized with white vinegar that you can buy at any grocery store, so it’s recommended to keep a gallon on hand if you’re going to do this.
The basic process is to completely clean and degrease the gun, then utilize a heated tank or bucket at 295 degrees Fahrenheit to immerse the parts for around 20 minutes. The tank cannot be below 292 degrees or above 298 degrees, so you have a very specific range you need to work with.
You will also need to constantly adjust the amount of water in the tank to keep the ratio of salts to water in the correct range as the water boils off. This also changes the boiling temperature of the water, so maintaining the ideal heat is even more of a challenge
After that, the gun is removed from the salt bath, it then goes through a cold water rinse, a boiling water soak, and then a bath in oil to protect and seal the part.
Alternative Methods of Gun Bluing
There are a number of other methods of gun bluing, but hot and cold chemical bluing are typically the best options for home gunsmiths and those just starting out because of the minimal chemicals and equipment involved.
The other methods are:
- Niter bluing
- Charcoal bluing
- Heat/Flame bluing
These methods are all either a little more involved, overkill for a home gunsmith, or just a bit outdated to use on a modern firearm. Still, the options are out there if you’re looking to do something a bit different, like a flame-blued revolver grip or something like that.
Frequently Asked Questions
Gun bluing solution is typically made of selenium dioxide for cold bluing and a mix of potassium nitrate and sodium hydroxide for hot bluing.
Gun bluing solution is made of diluted acids and nitrates that initiate oxidization in steel. Some other inert ingredients and stabilizers control the rate of oxidization.
As the name suggests, gun bluing is typically a deep, dark blue that almost looks black in certain lighting. Certain processes are called “blackening,” but even these result mostly in a deep blue finish.
Conclusion
Bluing a gun is a great way to add a more durable finish or to repair a factory-blued finish that may have worn down over the years. It’s surprisingly easy to do at home, but it’s also a bit finicky and can detract from the value of a showroom-quality piece if done poorly.
If you need to refinish that old hunting rifle or touch up your dove gun, this is a great DIY project that anyone with some basic skills can do. If you’re looking to refinish an antique or something with real sentimental value, maybe have a gunsmith look at it if you aren’t super confident in your abilities.
We hope you found this article informative and helpful. If you have any doubts or queries, feel free to contact us through our website.